
Assigning Profiles to Sensors
Once you have deployed a sensor, you can assign any available profile to it. Profile assignment is separate from sensor deployment — you can change profiles at any time without redeploying or rebuilding your sensor.
Step 1: Open the Profile Detail Page
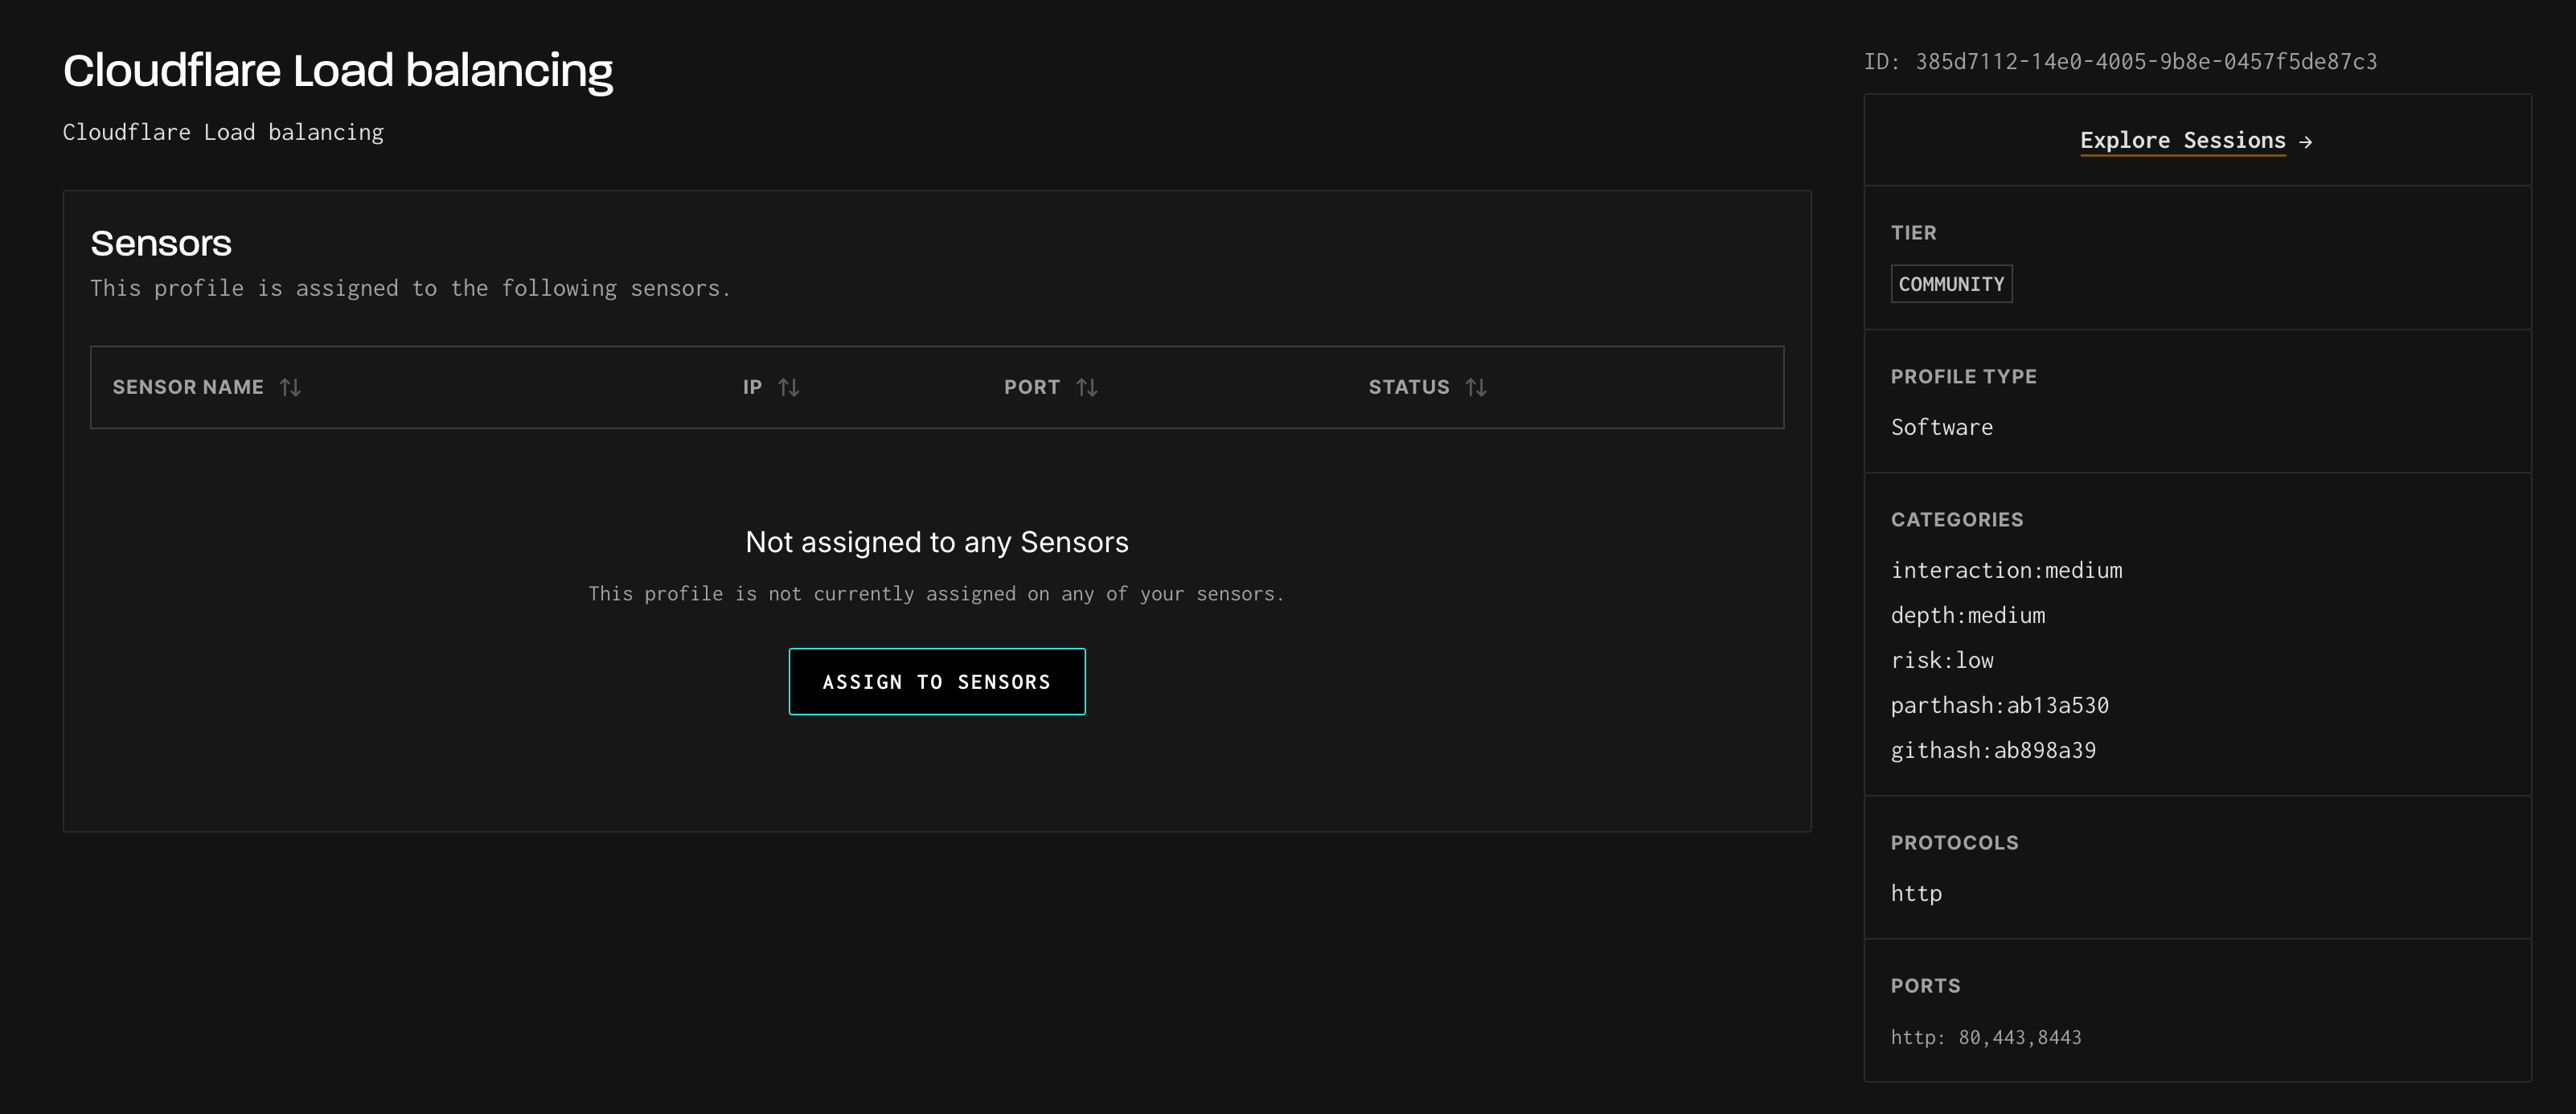
Navigate to Observe --> Profiles and click on the profile you want to assign. This opens the profile detail page, showing the profile name, metadata sidebar, and the current sensor assignments.
Step 2: Click “Assign to Sensors”
Click the "Assign to Sensors" button in the center of the page. If the profile is already assigned to one or more sensors, click the "Assign" button in the top-right of the Sensors table to add more.
Step 3: Select Your Target Sensor(s)
A sensor selection panel appears listing all of your deployed sensors. Each row shows the sensor name, IP address, port, current profile, and connection status.
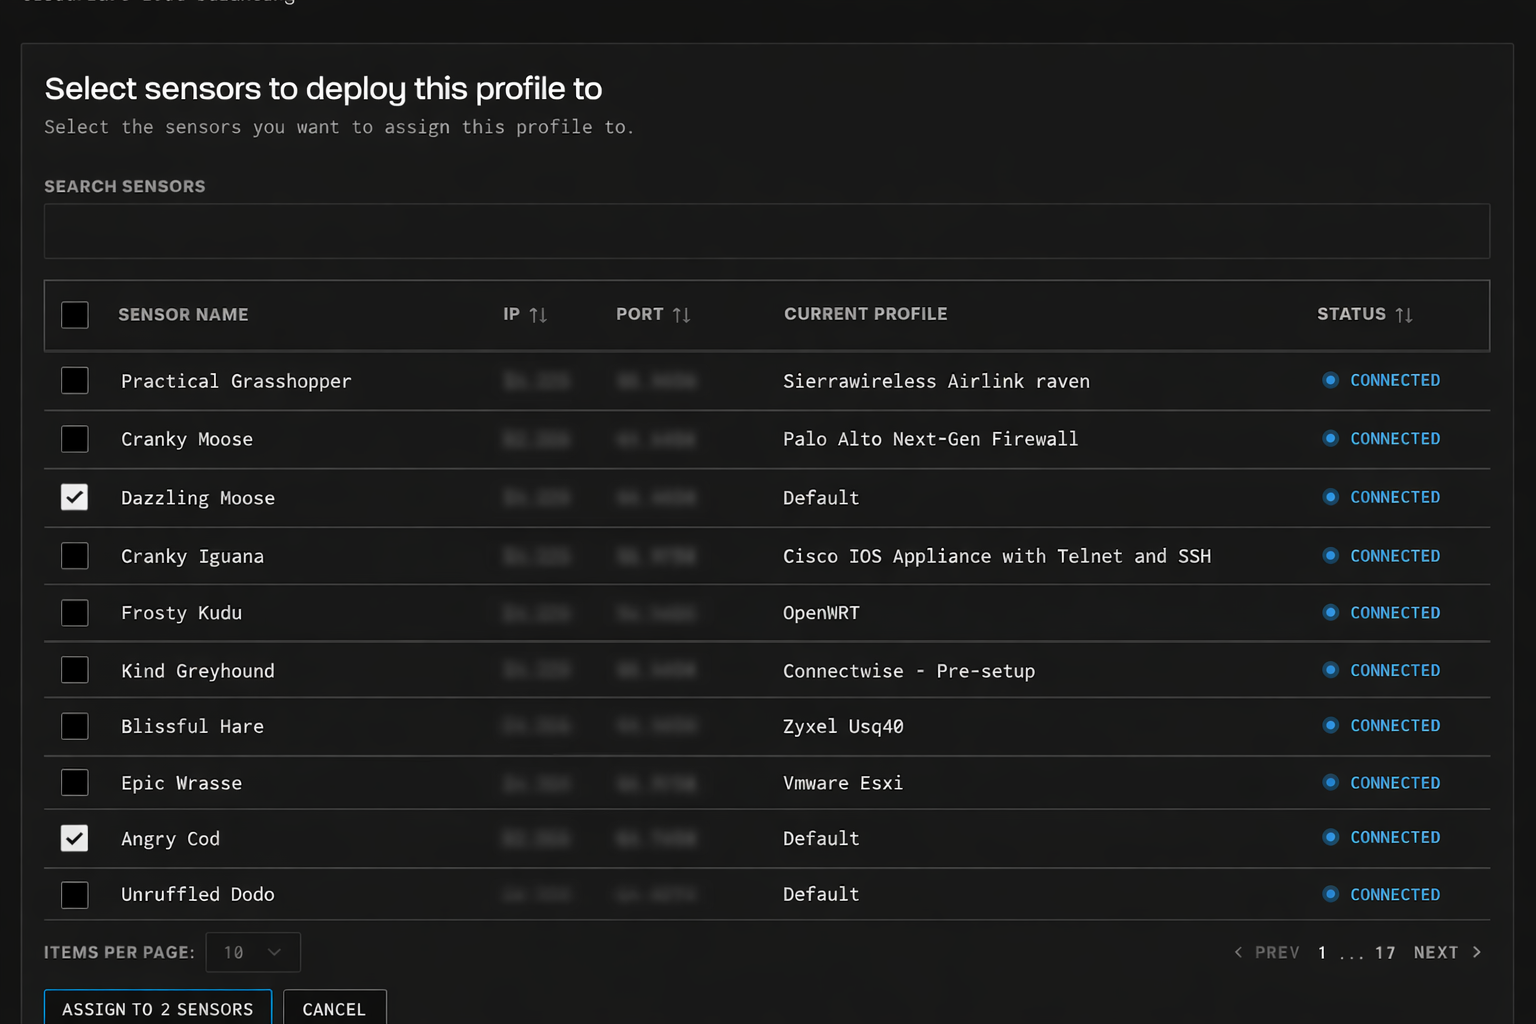
Use the Search Sensors field at the top to filter by sensor name. Check the box next to each sensor you want to assign this profile to. The CURRENT PROFILE column shows what each sensor is currently running, so you can see which sensors are on the Default profile or already running another profile.
Note: You can select multiple sensors at once. The button at the bottom will update to show the count (e.g., “Assign to 1 Sensors”, “Assign to 3 Sensors”).
Step 4: Confirm and Assign
Click the "Assign to N Sensors" button at the bottom of the panel. The profile change begins immediately. Within 2–5 minutes, your sensor(s) will start responding to attacker traffic using the new profile. After assignment, the profile detail page updates to show the assigned sensor(s).
What Happens During Assignment
When you assign a profile to a sensor, GreyNoise’s cloud infrastructure begins emulating the selected device on behalf of your sensor’s IP address. All traffic arriving at your sensor is forwarded through the encrypted WireGuard tunnel to a profile instance running in the cloud. The profile instance handles all responses — login pages, protocol handshakes, vulnerability responses, etc.
Your sensor’s SSH access is automatically remapped to an ephemeral port, so you retain administrative access to the sensor even while the profile is actively responding to attacker traffic on standard ports.
Switching Profiles
You can change the assigned profile at any time:
- No need to redeploy or rebuild the sensor
- Profile changes take effect within 2–5 minutes
- Example: switch from a WordPress server to a Redis instance without any infrastructure changes
- Multiple sensors can run the same profile simultaneously
Updated 3 months ago