
Alerts
Alerts
What are GreyNoise Alerts?
The GreyNoise Alerts feature notifies analysts when a query they care about has results in the GreyNoise internet scanner intelligence dataset. An Alert can be anything searchable via GNQL query such as, specific IP (and other IP data), tags, cves, asn (and other metadata fields), scan.port (and other Raw Data fields). You can string any of these fields together to make your search more specific to your interests. The GNQL cheat sheet lists all the searchable fields
Creating an Alert
Alerts are configured within the GreyNoise Visualizer alerts interface. They can be ingested into an appropriate platform to start an incident investigation.
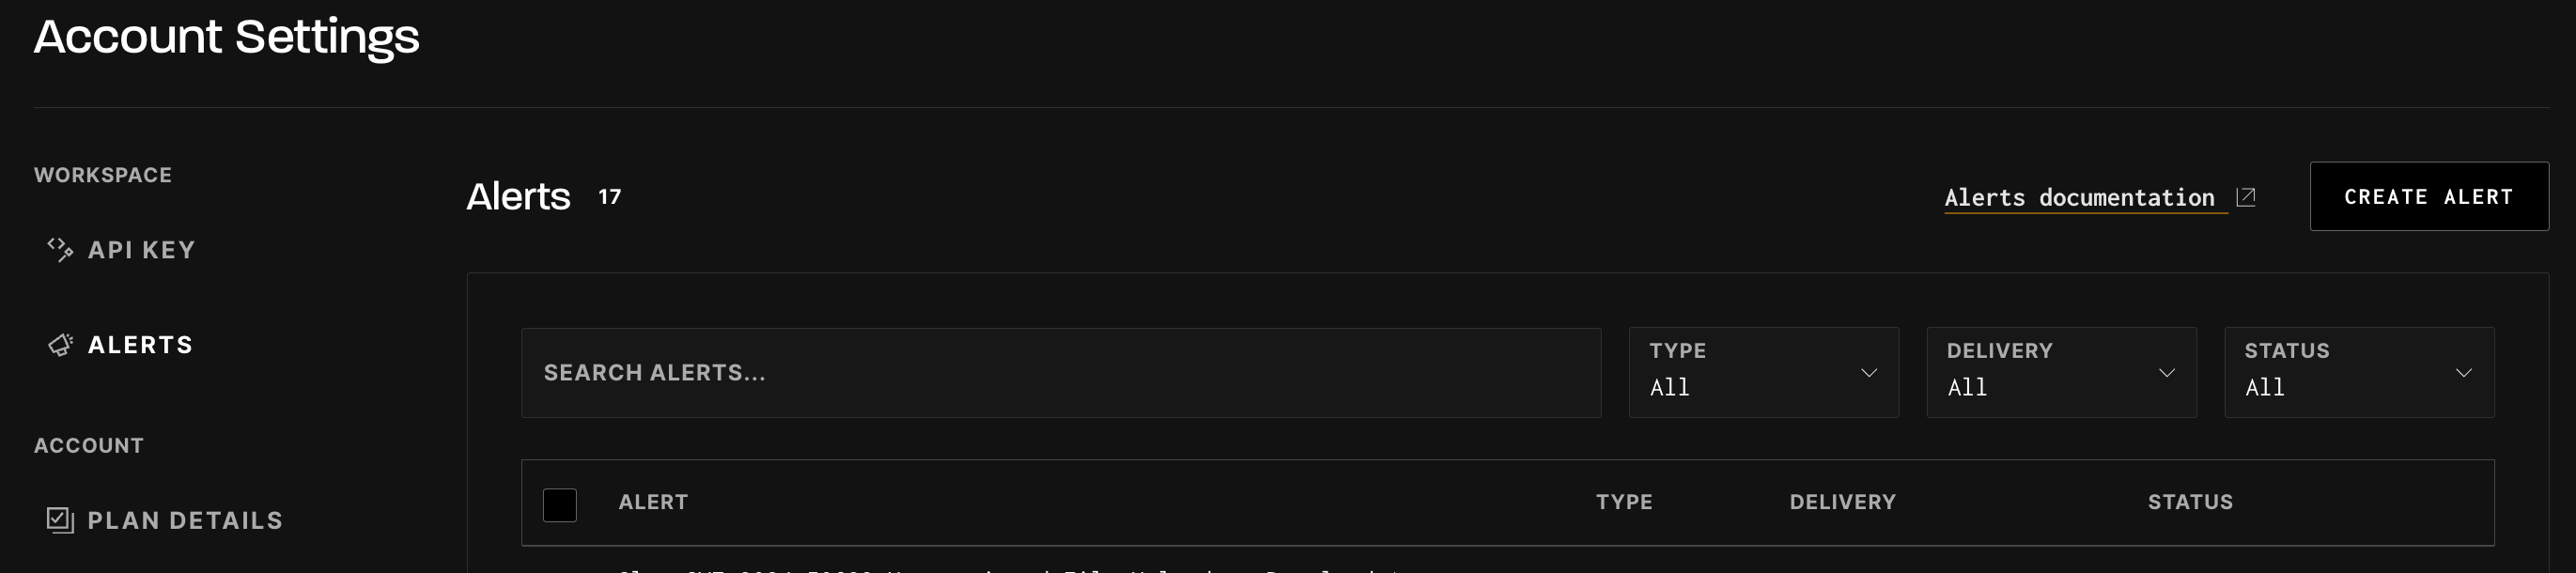
To create an alert, select the "Alerts" tab in the header.

While on the Alert creation page, select "Create Alert".
On the New Alert slide-out, enter the correct alert criteria:
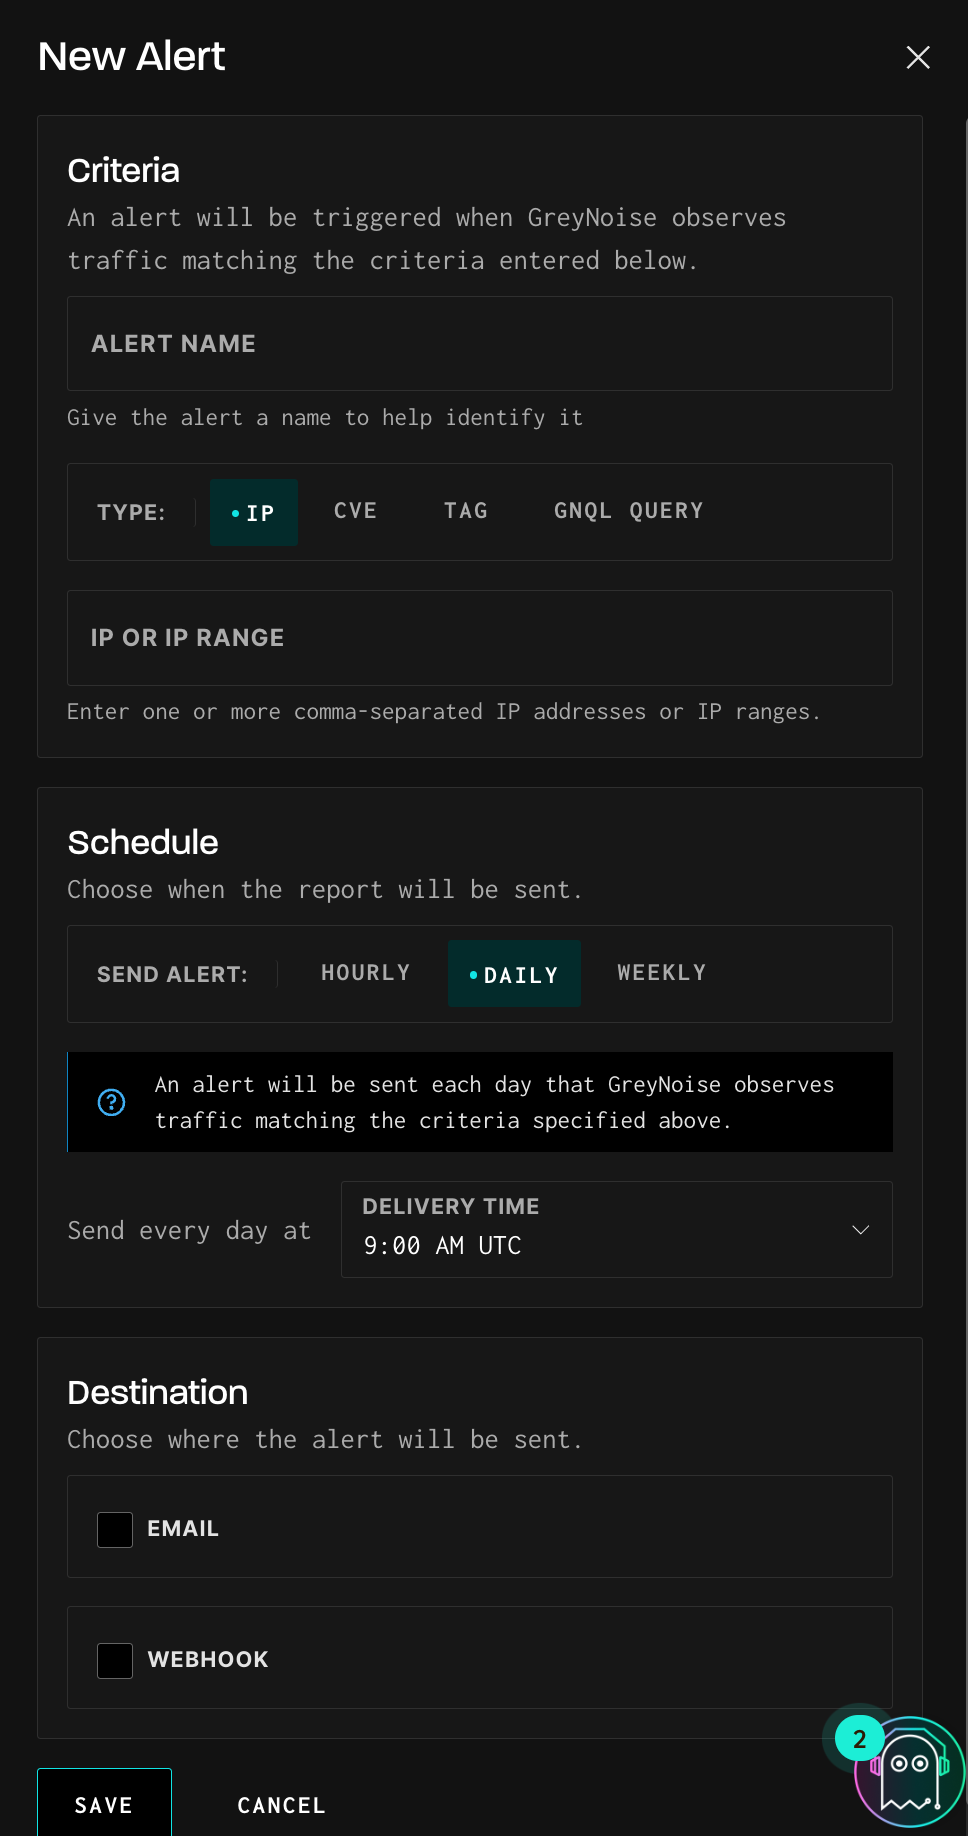
Choose an Alert Type
Select the type of alert you want to configure:
- IP: Specify individual IP addresses or ranges to monitor.
- CVE: Monitor traffic related to specific Common Vulnerabilities and Exposures (CVEs).
- Tag: Get alerts based on GreyNoise tags, such as botnet or scanner activity.
- GNQL Query: Use a custom GNQL query to define alert criteria.
Name Your Alert
Provide a descriptive name for the alert to help identify it easily.
Enter Criteria
For the selected alert type, input the required data:
- For IP, enter comma-separated IPs or ranges.
- For CVE, enter the CVE ID(s).
- For Tag, enter a GreyNoise tag.
- For GNQL Query, enter the query string. (for example, xxx)
Scheduling Alerts
Choose how often the alert should be sent:
- Hourly: Receive updates every hour.
- Daily: Get reports once a day at your chosen time.
- Weekly: Receive a summary every week at your chosen time.
Set the Delivery Time:
Specify the time of day the alert should be delivered. All times are in UTC.

Choosing Delivery Methods
You can select one or both delivery methods for your alerts:
- Email:
- Enter the email address where the alert should be sent.
- Add multiple email addresses if multiple recipients are required.
- Webhook:
- Provide the webhook URL where the alert payload should be sent.
- Alerts are sent as a push-type webhook, delivering a JSON payload containing:
- Timestamp: When the alert was triggered.
- Alert Details: Information such as alert name, type, and creator.
- Data: A list of matching IPs, CVEs, tags, or query results.
- Links: Quick access to the query, alert details, or visualization

Example Webhook Payload
Below is an example of the JSON payload sent via webhook:
{
"timestamp": "2023-10-05T14:55:00Z",
"alert": {
"id": "alert-id",
"name": "alert name",
"type": "ip",
"creator": "creator-email"
},
"data": [
{
"ip": "10.0.0.5",
"classification": "benign"
}
],
"viz_link": "https://viz.example.com/query",
"query_link": "https://api.example.com/v2/",
"alert_link": "https://viz.example.com/acc"
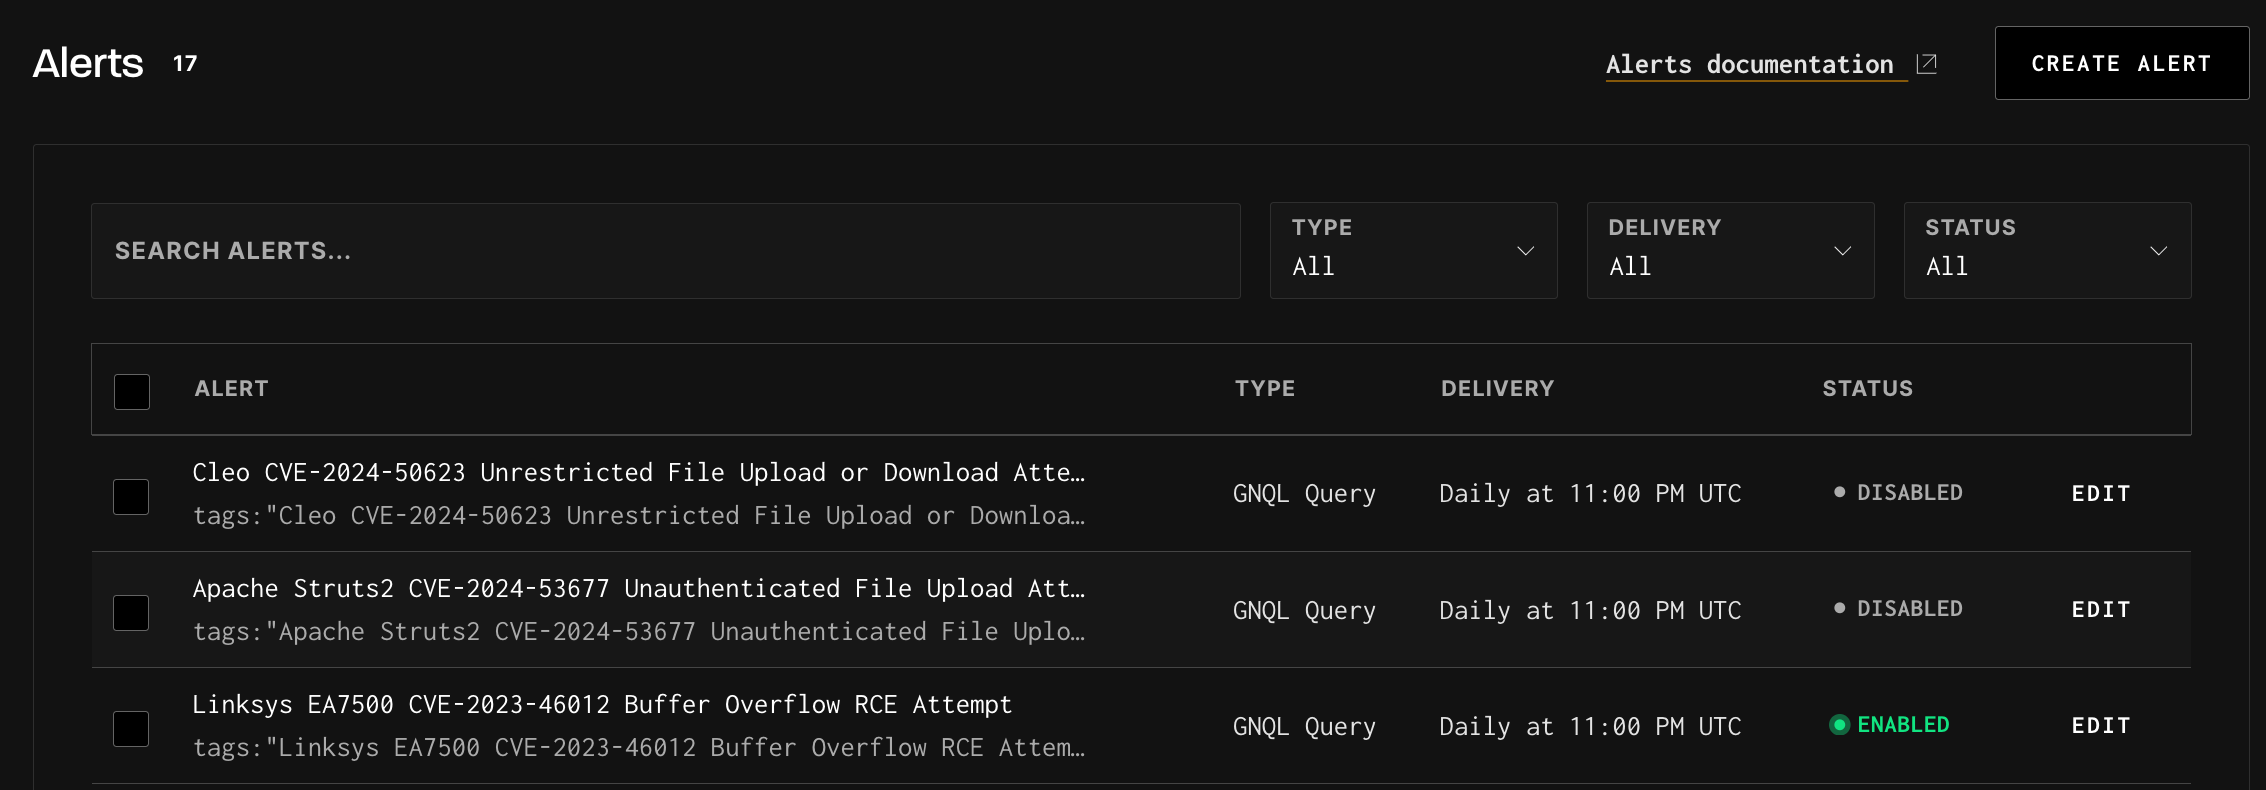
}After saving the Alert, you can monitor it and other active Alerts to make any edits or disable them.
Reach out to [email protected] for any questions or feedback.
Updated 4 months ago