
Setting up an Account
This Guide provides step-by-step instructions for creating a GreyNoise account and navigating the account settings.
Step 1: Sign Up for an Account
-
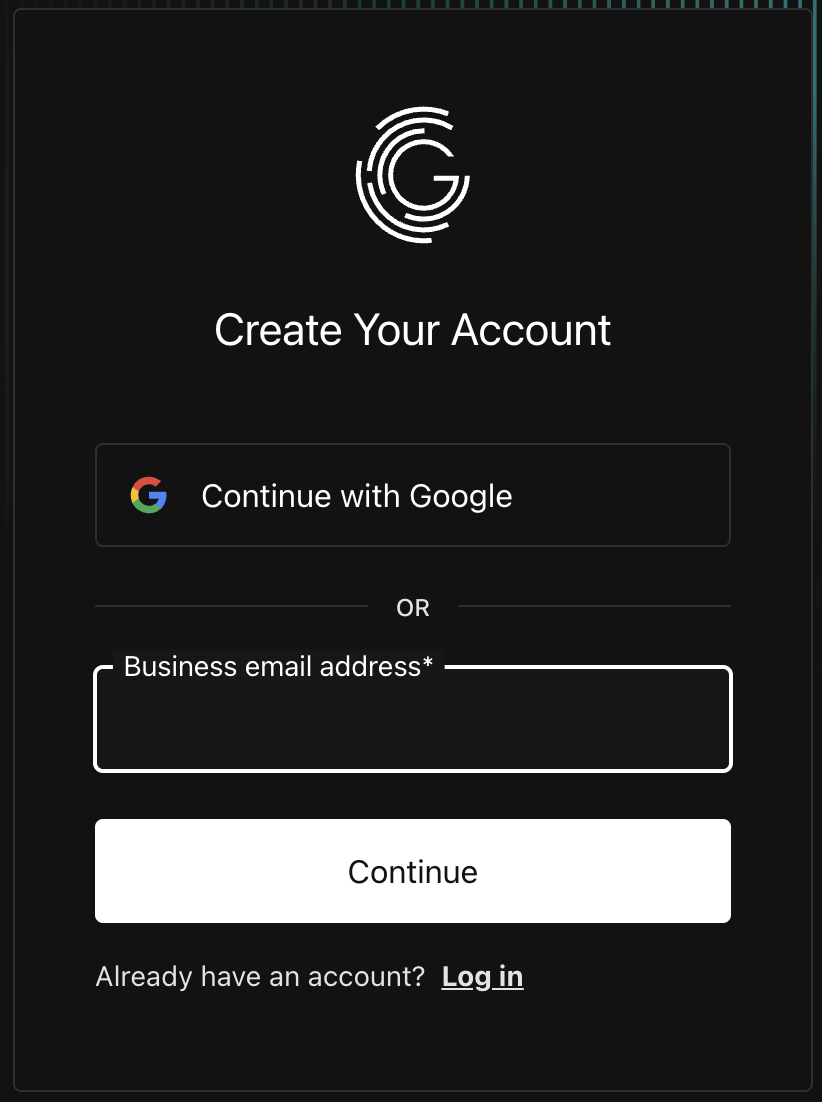
Navigate to the GreyNoise Visualizer and Click the SignUp button: https://viz.greynoise.io/
-
To create an account with Google SSO, click the "Sign up with Google" button.
-
To create an account with your email and a password:
- Enter the email you'd like to use
- Create a password for your account
- Complete your profile by adding your First Name, Last Name, and Title
-
Review the Getting Started information:
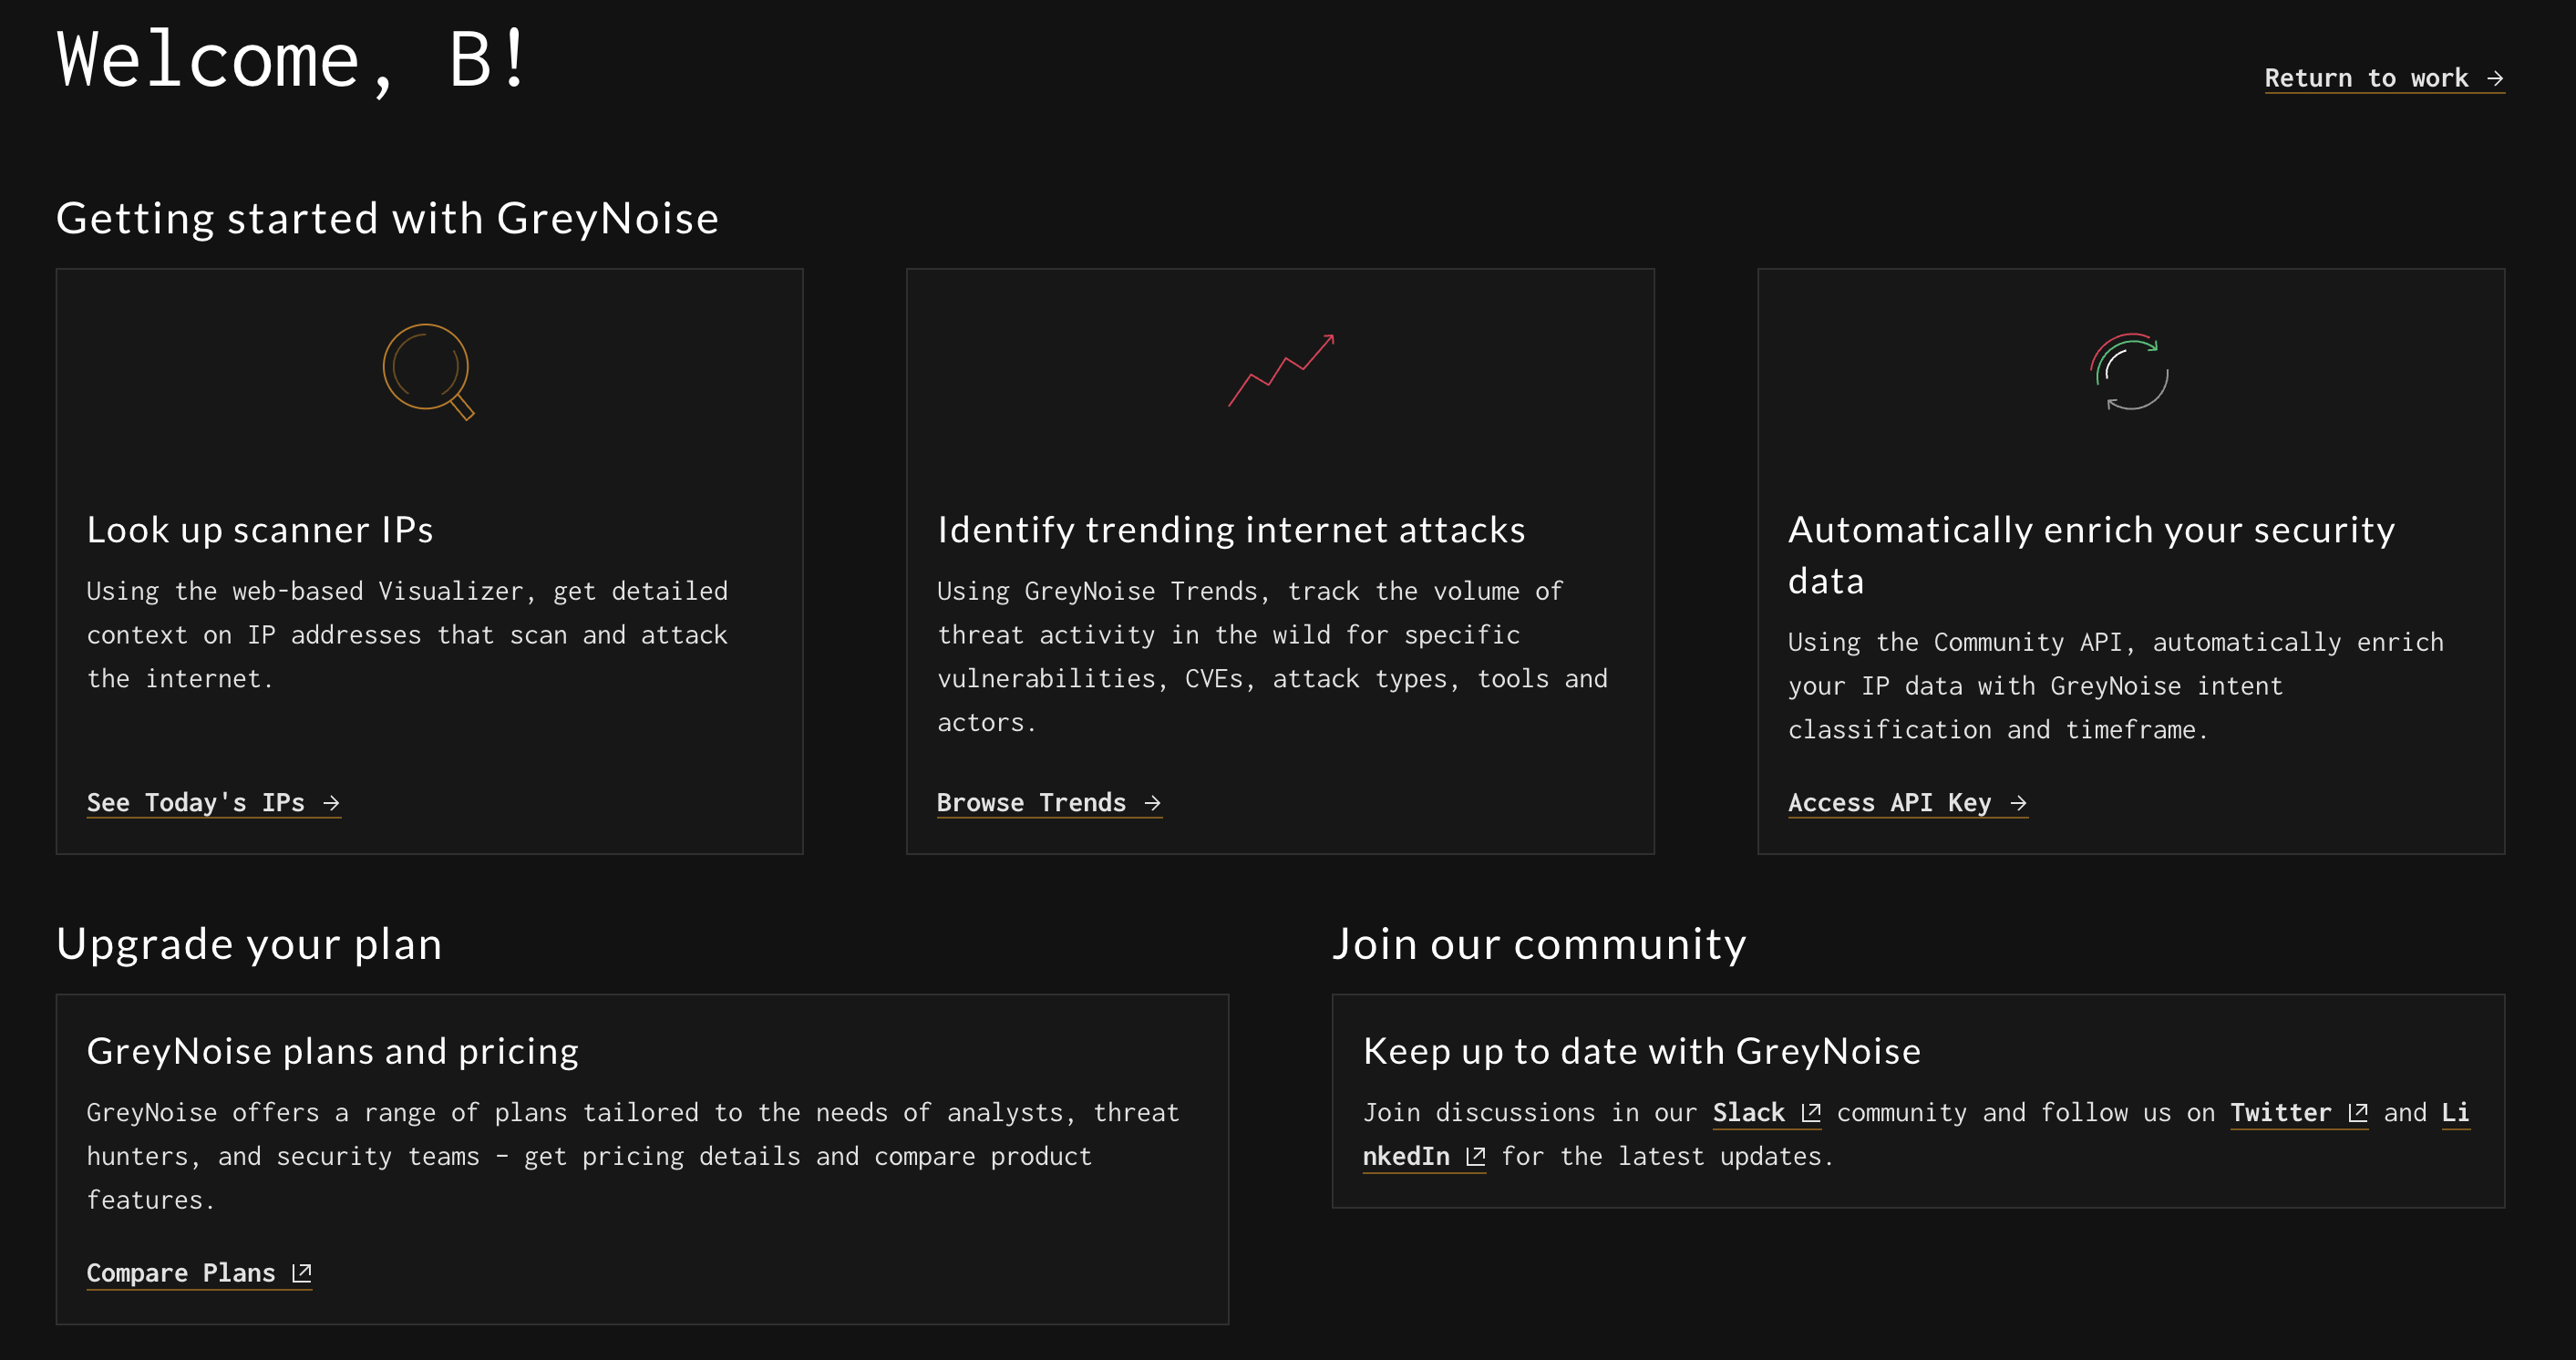
- Validate your account via the sent email to begin using GreyNoise.
Step 2: Review Your Account Settings
- Once logged into the GreyNoise Visualizer at https://viz.greynoise.io, click on your name the upper right corner navigation area to view the account options.
- The Account Settings page provides access to:
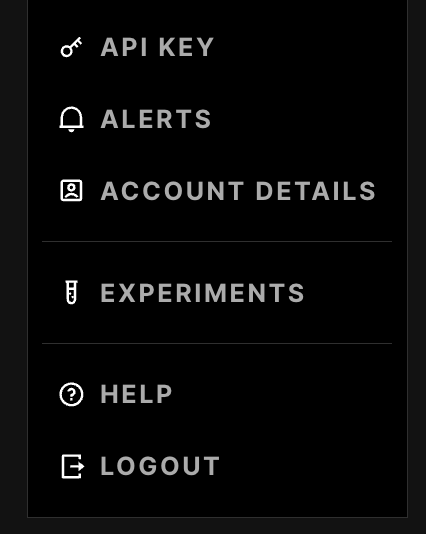
- API Key - Shows our GreyNoise API Key
- Alerts - Allows you to manage your alerts
- Account Details - Allows you to update your information or delete your account.
- Experiments - If enabled for your account, this takes you to the GreyNoise Experiments page
- If you make any changes, click the "Save and Update Account" button to submit those changes.
Step 3: Enterprise Trial
Users can request access to a 14-day trial of the full version of GreyNoise by filling out the Request Enterprise Trial form on the account page. This will be reviewed by the GreyNoise team, and you will be enabled if you qualify for a trial.
Step 3: Convert Your Account to a Paid Subscription
Once the Trial period for the GreyNoise account has expired, access can be re-established by purchasing a subscription to the GreyNoise service. Email [email protected] for pricing and information.
Updated over 1 year ago