
Setting up an Account
This Guide provides step-by-step instructions for creating a GreyNoise account and navigating the account settings.
Step 1: Sign Up for an Account
-
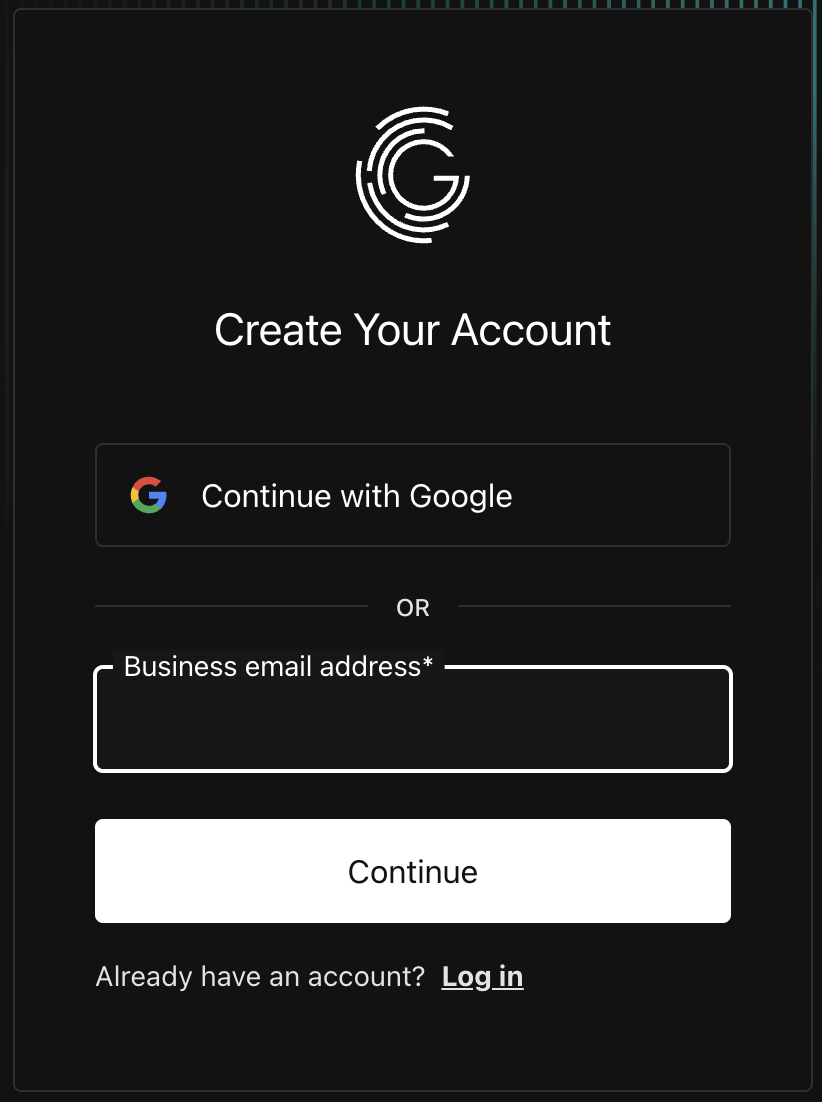
Navigate to the GreyNoise Visualizer and click Sign Up.
-
To create an account with Google SSO, click the "Sign up with Google" button.
-
To create an account with your email and a password:
- Enter the email you'd like to use
- Create a password for your account
- Complete your profile by adding your First Name, Last Name, and Title
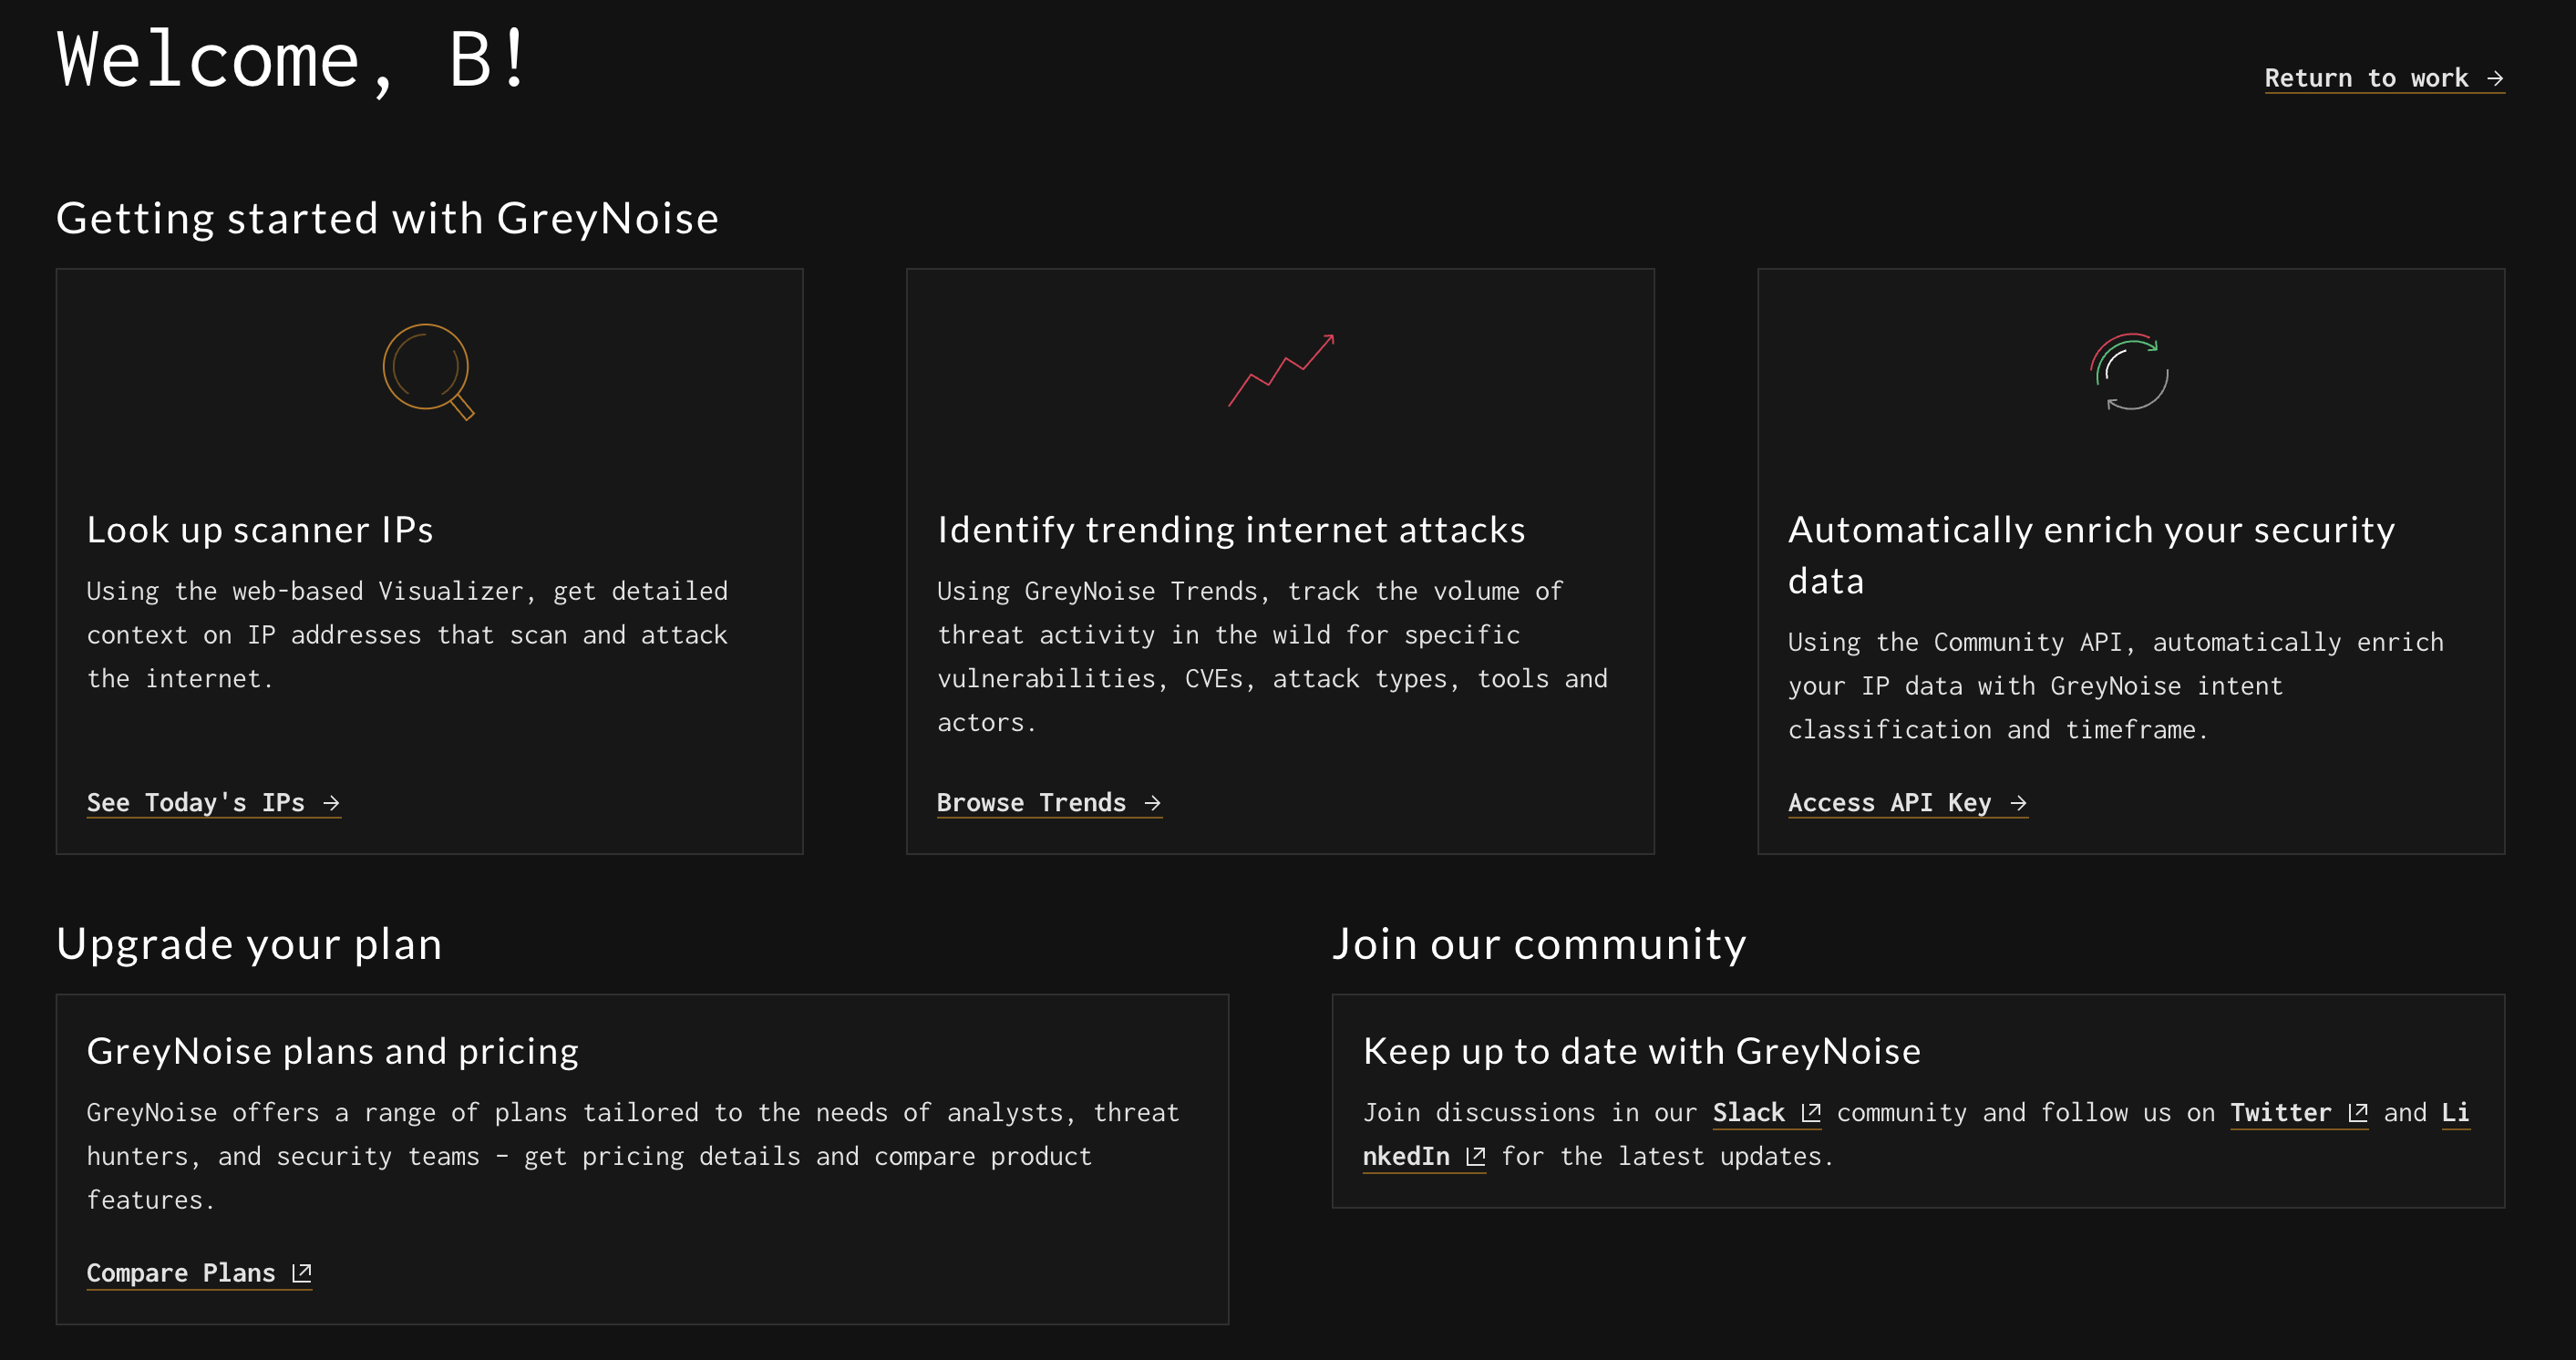
- Validate your account using the verification email to begin using GreyNoise.
Step 2: Review Your Account Settings
-
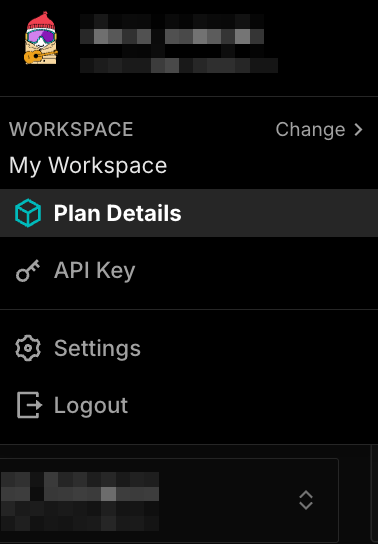
Once logged into the GreyNoise Visualizer, open the account menu from the workspace control at the bottom of the left sidebar and select Settings.
-
Review your account information and preferences. Preferences include App Version, Default Workspace, and Redact sensitive data.
-
If you make any changes, click Save Preferences.
Step 3: Review Your Workspace and API Key
- Open the account menu from the workspace control at the bottom of the left sidebar and select API Key under Workspace.
- Review the workspace name and ID, plan, enabled intelligence modules, and weekly search usage.
- Find the API Key section, or open the API Key page directly, to copy the API key for the current workspace.
Step 4: Enterprise Trial
Users can request access to a 14-day trial of the full version of GreyNoise by filling out the Request Enterprise Trial form on the account page. This will be reviewed by the GreyNoise team, and you will be enabled if you qualify for a trial.
Step 5: Convert Your Account to a Paid Subscription
Once the Trial period for the GreyNoise account has expired, access can be re-established by purchasing a subscription to the GreyNoise service. Email [email protected] for pricing and information.
Updated 10 days ago